It’s a great thing to finally find your favorite pizza crust recipe. I’ve been buying store bought pizza crust; my favorite brand has become the gluten free crust from Namaste, which I can only find at a Roots health foods store, oddly, haven’t seen at a Sprouts. My next favorite is Pamela’s though. Also, I haven’t been satisfied with some of the gluten free pizza crust recipes out there. Some are passable but not memorable. They sort of just get there, but didn’t quite hit the spot. I recently found one by a Japanese rice flour company, that’s why I put in Komeko flour preferred, which can be purchased at a Nijiya Supermarket if you happen to have access to one. Living in Corona, the nearest one to me is a Nijiya, which has become only a leisure trip to the City of Industry, my nearest one. A few months back, I often visit my boyfriend in Escondido, and traveling to San Diego was on the way at times, so there is a Nijiya down there. Otherwise, I did make this recipe with some rice flour I bought in bulk at a Winco. :O It turned out tasty anyway, and will have to try with some komeko at a later time in life.
Ingredients:
- 1 1/3 Cups of Rice Flour, Japanese Komeko preferred but not necessary, plus extra for dusting the pan
- 1 teaspoon Dry Yeast, or half of a yeast packet, its okay if its not perfectly level and a little extra, but not a lot.
- 2 Tablespoons Olive Oil, plus extra for greasing
- 1/2 teaspoon of salt, also a small sprinkling of garlic seasoned salt (if there’s some parsley in it, even better) if you want a more in-depth flavor
- 2-3 Tablespoons Sugar
- 3/4 Cup of Water (40°C/104°F )
- Your choice of pizza toppings
Directions:
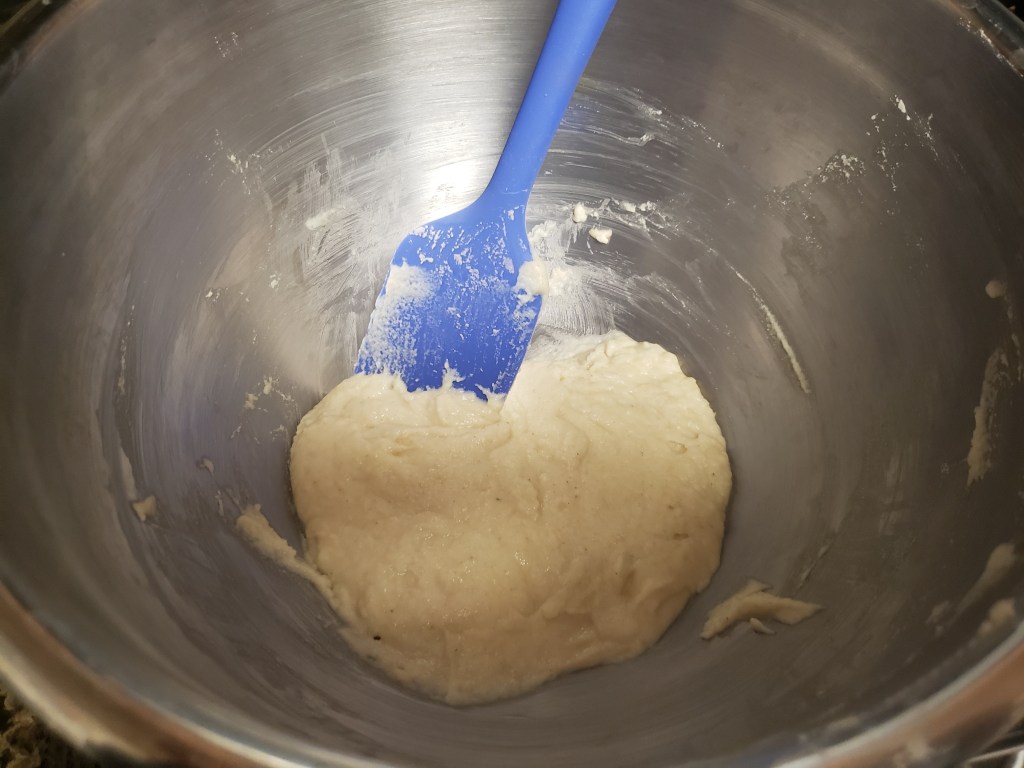
- Place all ingredients into a bowl. I tend to microwave my water in the microwave in 30 second increments up to 2 times, and its the right temperature and very quick.
- When the water is ready, mix it in evenly and well. The batter will be on the wet side and sticky, you can add 1-2 more Tablespoon of flour if you want it to be a thicker batter so that it becomes a thicker crust. Put a cover on, such as wax paper or a towel.
- Turn the oven on briefly to about 140 ° F , and then turn off and place in the warm oven.
- If using non-instant rise yeast, let rise for about 30-40 minutes, otherwise, 20 minutes in the bowl.
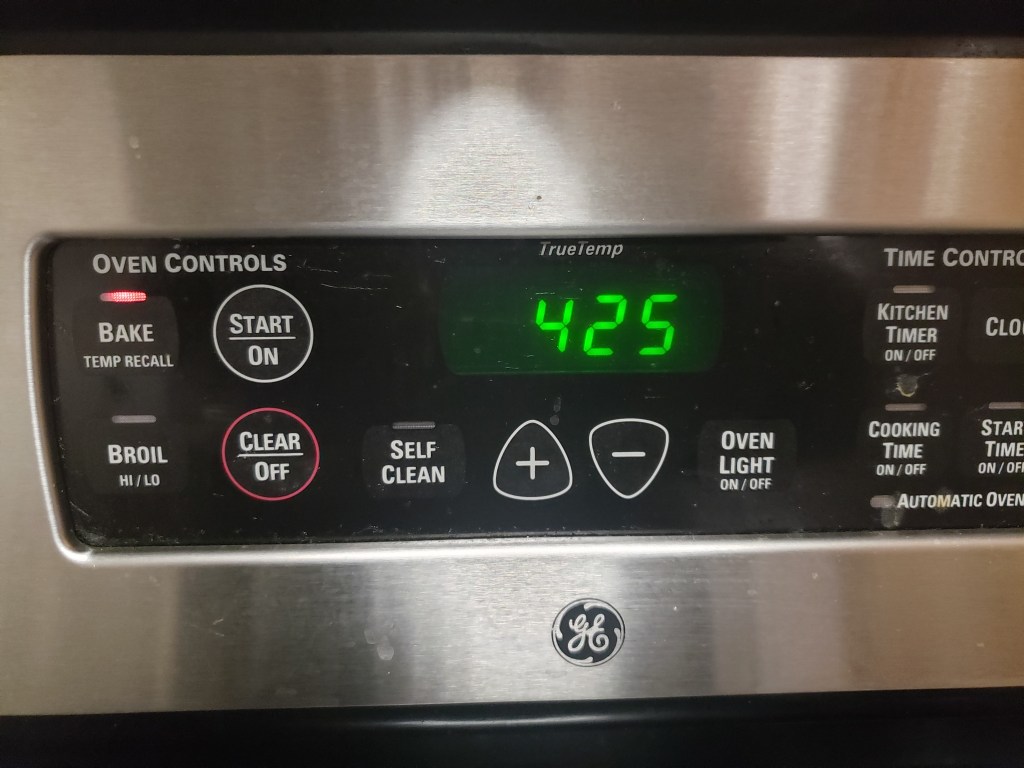
- Take out your dough from the oven and preheat oven to 425°F.
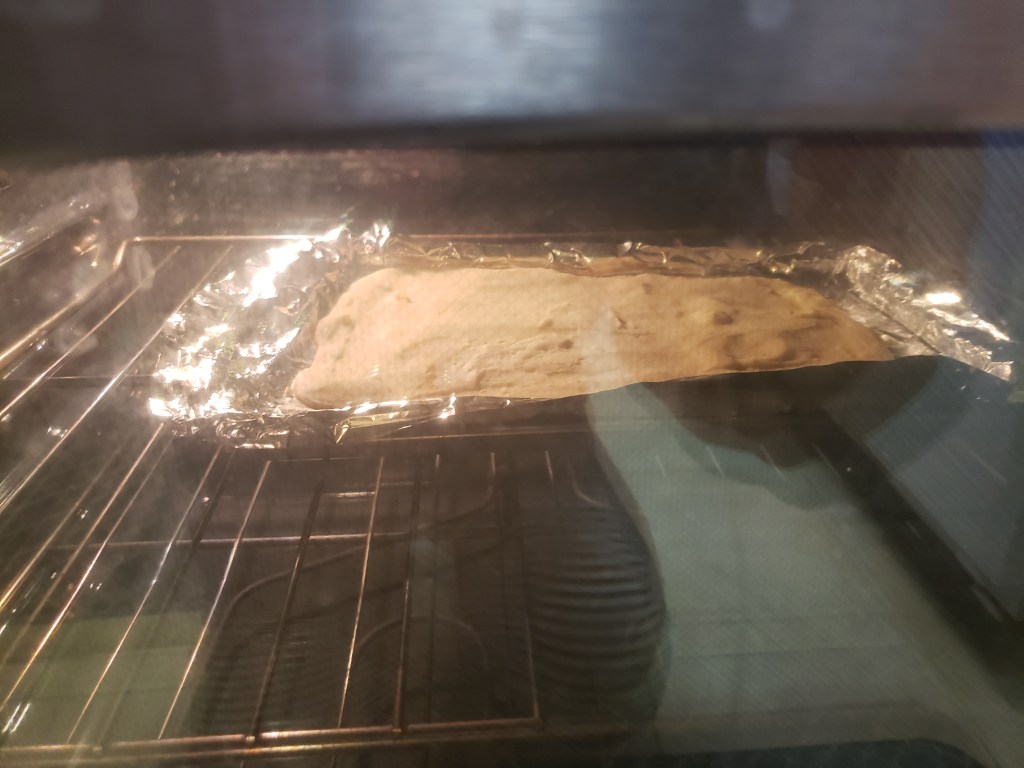
- For one medium 8 inch pie, cut the dough in half and spread with a spatula. Use a bit of water on your spatula and fingers to evenly spread dough on a greased back pan with a bit of flour dusting on top. You can spread this dough pretty thin to about 0.7-0.8 cm, or 1/4 of an inch if you like thin crust, which I do.
- Stick the crust in for 10 minutes.
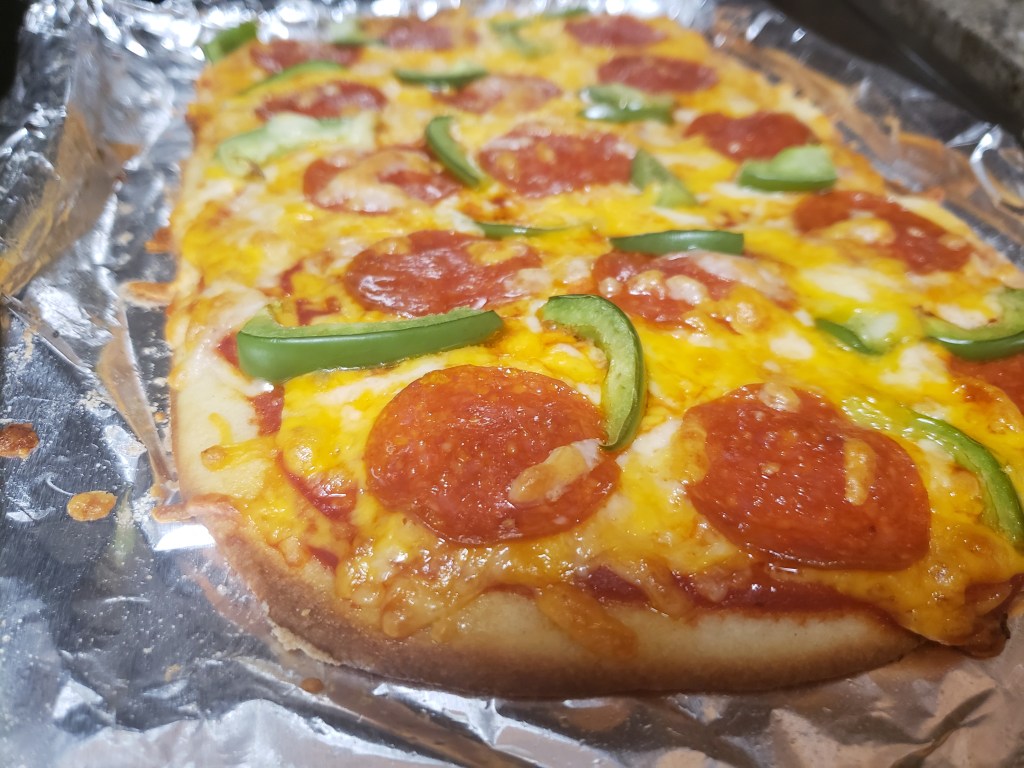
- Take out the crust when its done baking, it should come out lightly golden yellow.
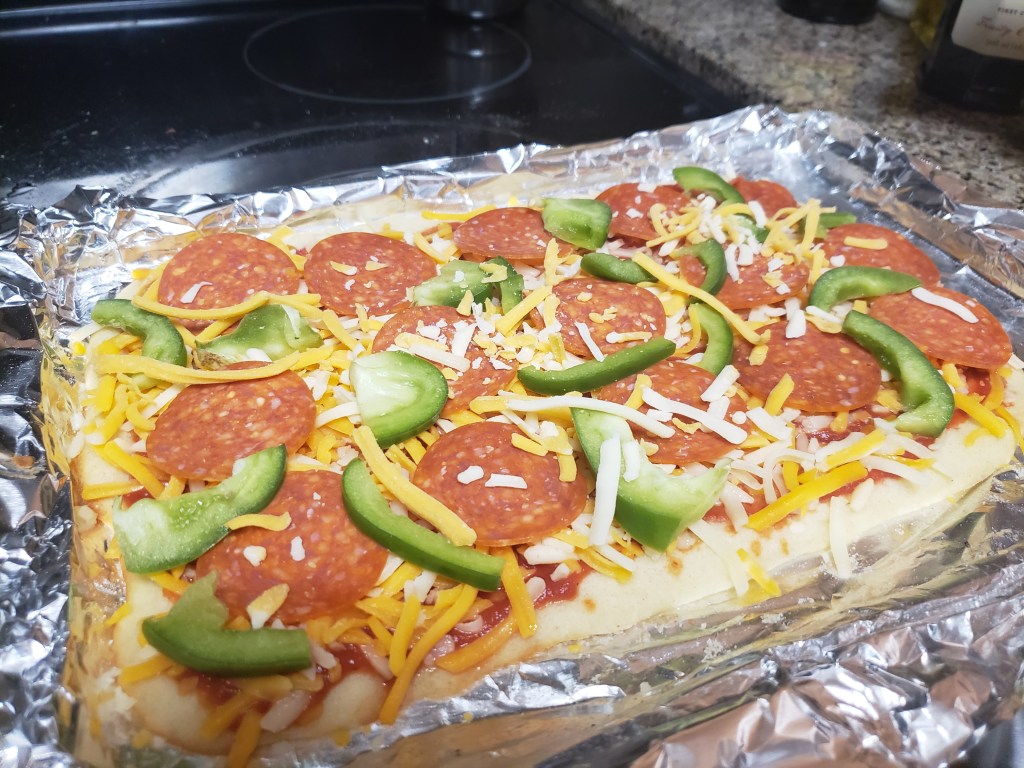
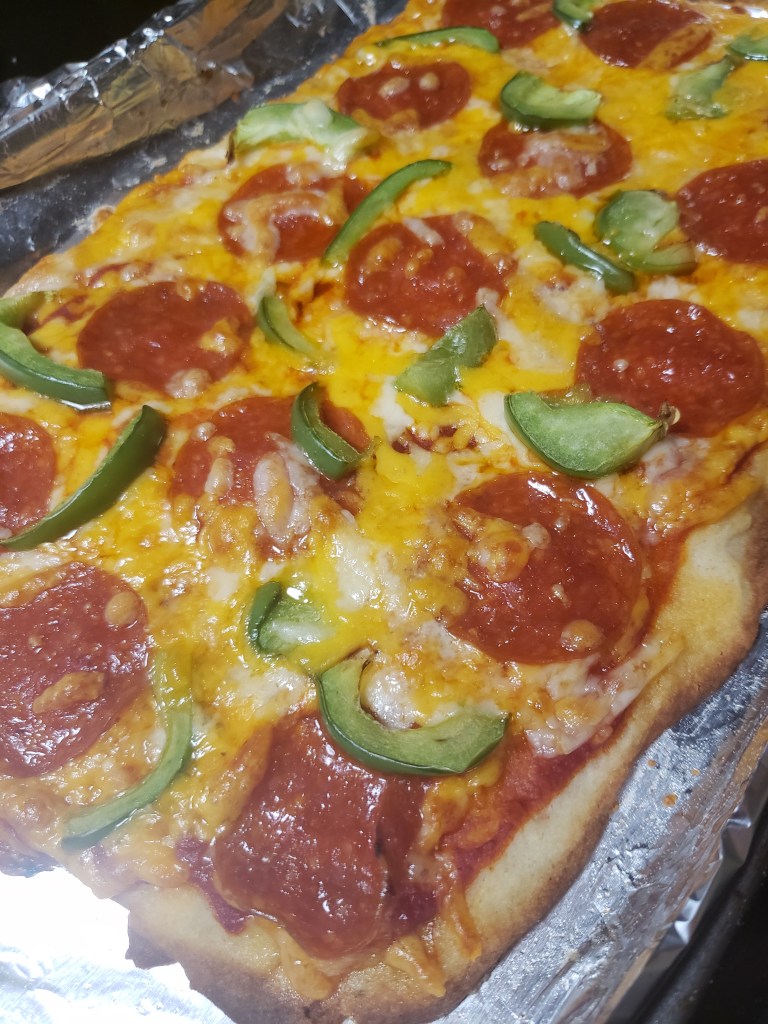
- Add your toppings; I love the traditional tomato pizza sauce, choice of cheese or mozzarella, pepperoni or italian sausage, or onions and green bell peppers. Go all out on this!
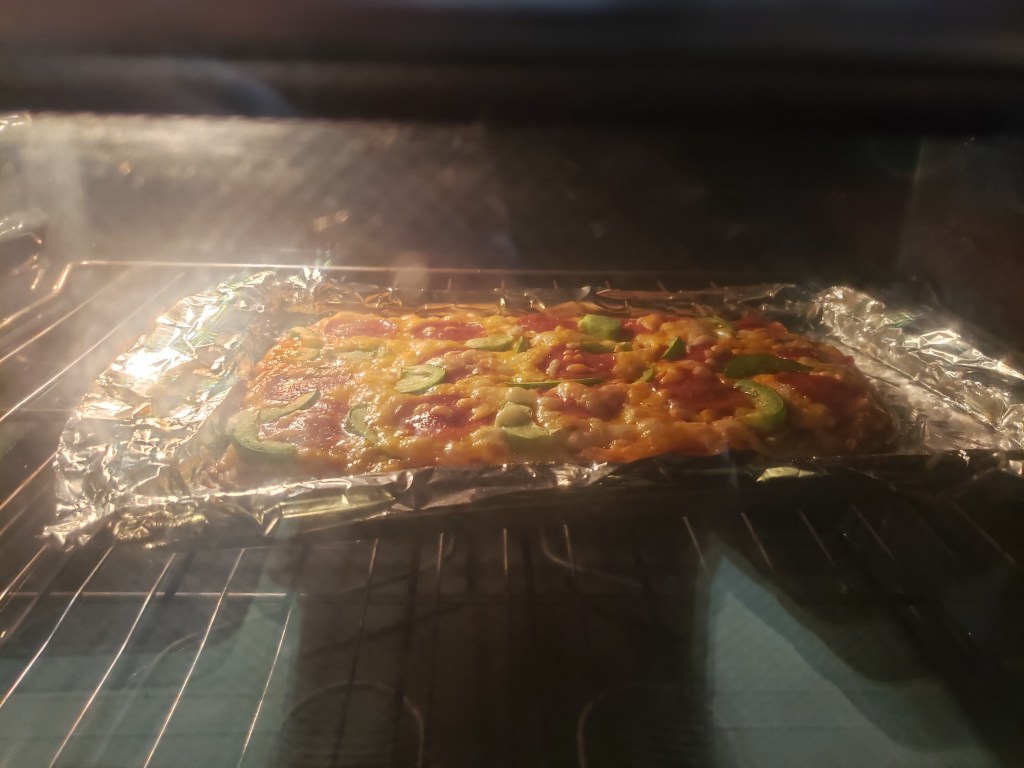
- Stick it back in the oven for another 10-12 minutes or until desired crispiness.
- Top with some parmesan cheese or hot pepper flakes!
* This batter can become 3 small 6 in pizzas, 2 medium 8 in pizzas, or a large pizza up to 10-12 in inches.